Ow! music is launching six new radio stations later on this year; and asked me to create three different logo for one of there six radio station; the names of these six radio stations are; Lock, Pulse, Mixx, Buzz, shred and VIP; i picked the free radio stations which went by the names of; Buzz, Shred and Pulse. They wanted the three radio stations to look like a 'family'. We had to take into consideration that these logo's will be appearing on letterheads, on the home page of the radio stations homepage, magazines, billboards and also a wide variety of merchandise. When thinking about the type of aspects which we would want our radio stations logo's to include would be; the target audience and demographic, who would be listening to the music on this certain radio station, this would then lead onto the the question of what type of music would this certain radio station be playing. This is were i needed to think carefully about the types of colours and fonts which i will be using and what colours and font would grab our target audience attention, and would also make these radio stations successful.
When we started to plan our work we had to make sure that we had a number of different options which we could pick. With making sure that they are all in the same family.
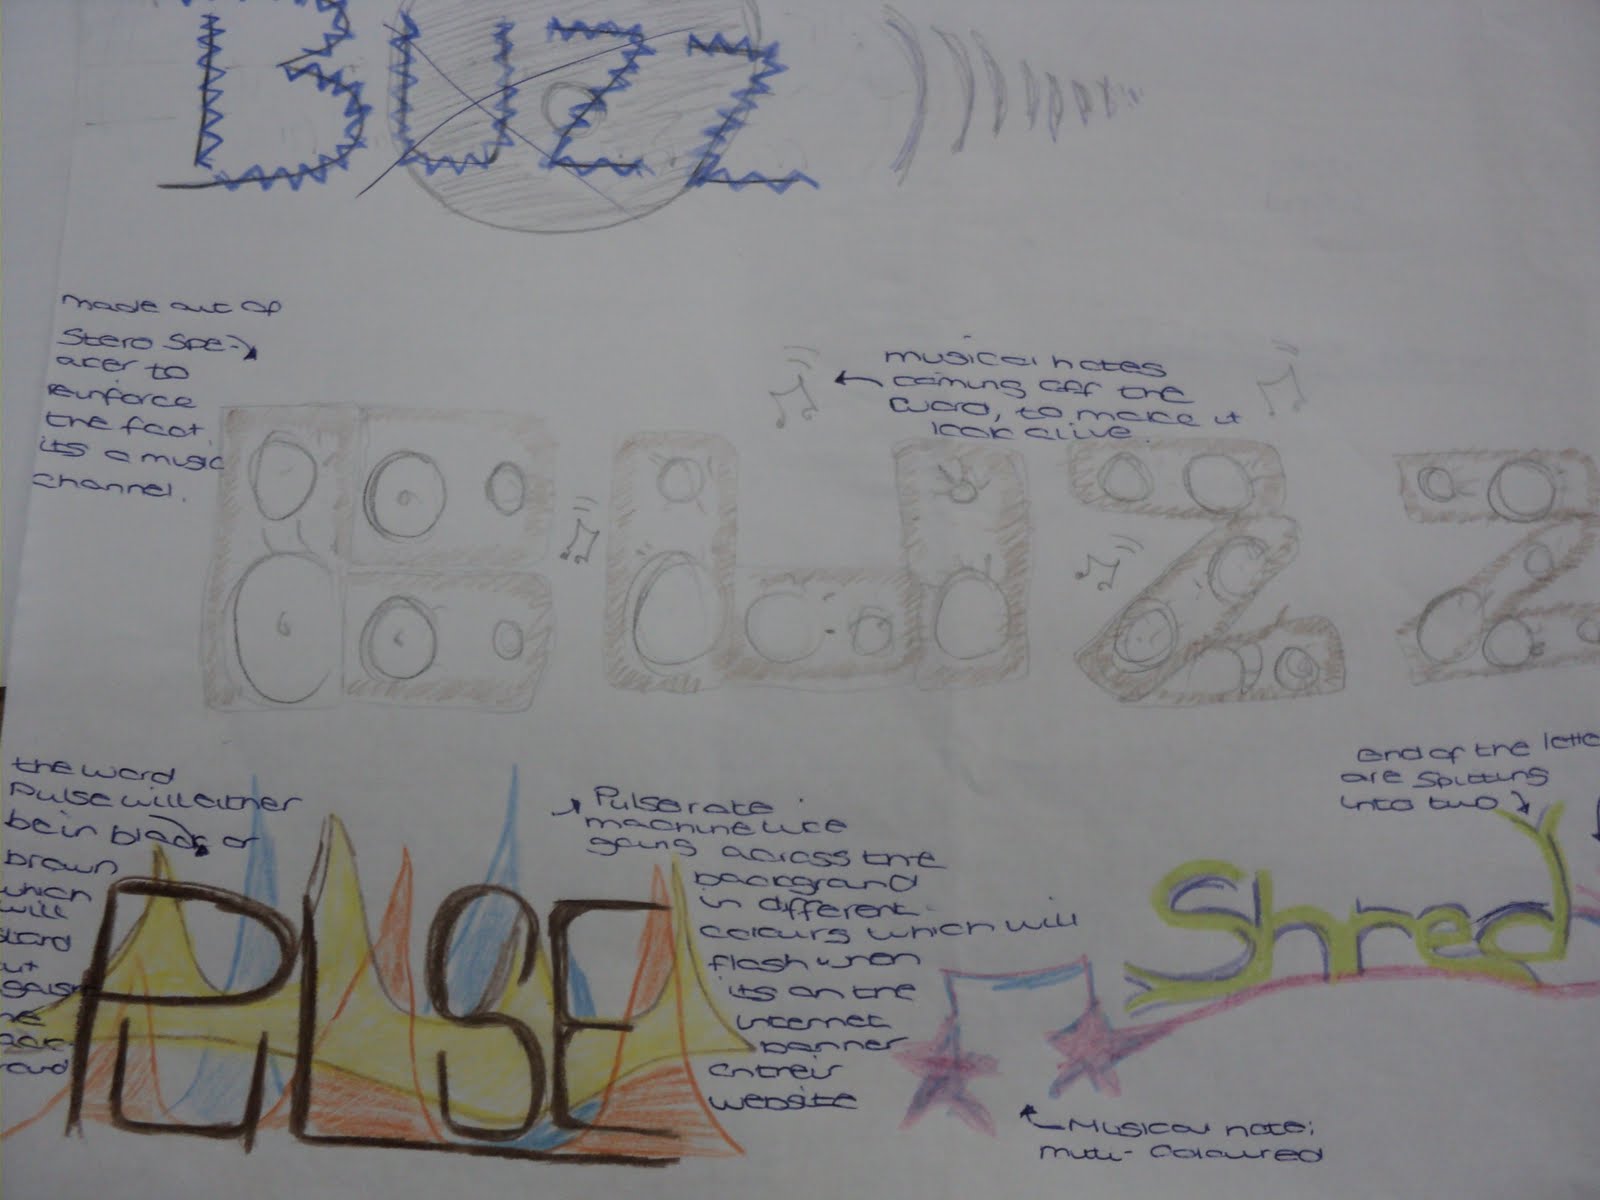
My first idea, was the 'arrow' idea. This consist of them each letter of the logo would have a arrow coming of it somehow, this is one of the main reasons i chose the three radio stations which i did as the lettering in the words were ones which had some straight edges; which would allow me to carry out my idea and have arrows on each letter.
I also wanted to make the background of the logo look more colourful; so i had to think about the different types of pictures which could relate to the certain words.

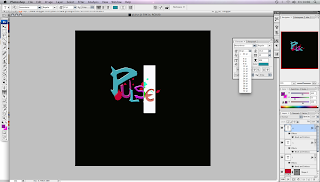
is my three different ideas about my three chosen radio stations; as you can see that each of these are different colours and all have a different background apart from the background on buzz. when looking at all three of these logo when they are put together you can see where they are linking into each other. i have decided to put a 'pulse rate' behind the logo for the radio station called pulse; this is because it thought its reinforcing the name of the radio station, and also that i thought that new upcoming music could be featured on this radio station so it could also annotate there pulse rate and how there feeling when there music is being played. When looking at the sherd option i have put the background as if something was being ripped to pieces and also like an explosion. This is also to reinforce the name of the radio station but also to represent the music which is being played on this radio station. i aim to have more heavy mental, rock, punk, scene music playing on this radio station, and lastly i chose buzz to have popular chart music playing as it could give you a 'buzz' from listening to them. when you are out at partys or clubbing having a 'buzz'ing atmosphere. so i thought all of that linked in nicely with the name of the radio station.
my other option didnt really look like a family; this is my second set of idea's:

This is my second ideas as you can see that they do not link as well as the others did as a family. i tried buzz out by making each line of each letter would be a speaker. i thought this would link in well which the whole point of it being a radio station. however i believe that this would look rather tacky and not really reach out to the radio stations target demography, and would possibly only have a niche audience, the total opposite to what we wanted. the pulse logo; i still stuck with the straight writing with the multi-coloured background however i decided that i didn't really like this idea as much as i did the first ones. when i made the idea for number 2 of shred, i really liked my idea and believe that this could be better than the shred on the first idea. i personally like the idea of the the line underneath shredding into two lines and also the way it links to a musical note.

once ive complete these two different i got another sheet of paper; and made notes about who the competition was for these radio station; i also used a number of different words and phrase to try and get more idea's i decided on the target audience in these notes; and also the types of music which these types of radio stations would have.
 During one of my lessons i decided that i would get feedback from other members of my class on what they think of the three different logo's which i had designed for the free different radio station, i gained both positive feedback as well as negative feedback. some points which my peers had made was:

 this is the male design for with the buzz logo on; as you